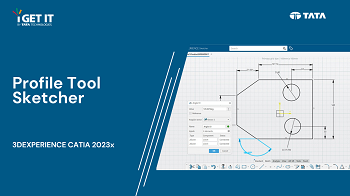
How to use Profile Tool Sketcher | 3DEXPERIENCE
October 27, 2023
2023-10-27 12:17
How to use Profile Tool Sketcher | 3DEXPERIENCE
The goal of this tech tip is to teach users how to generate continuous lines and arcs using the Profile tool in a CAD software’s Sketcher module. This skill is crucial for creating intricate 2D sketches as a foundation for 3D models. Users will learn to access the sketching environment, activate the Profile tool, create seamless lines and arcs, add dimensions and constraints if needed, exit the sketch mode, and use the resulting profile for 3D feature construction. Mastering this technique allows efficient translation of design concepts into precise CAD representations
The goal of this tech tip is to impart the ability to seamlessly generate continuous lines and arcs utilizing the Profile tool within the Sketcher module of a CAD (Computer-Aided Design) software.
Consequently, this skill is essential for designing intricate 2D sketches that form the basis for subsequent 3D models.
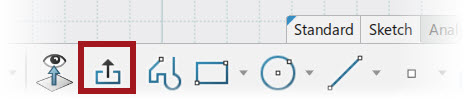
The “Profile tool” is a vital feature in CAD software used for creating 2D shapes and outlines. It enables users to draw continuous lines, arcs, and other geometric elements. By selecting this tool, designers can precisely sketch the foundational shapes necessary for building complex 3D models in the CAD environment.
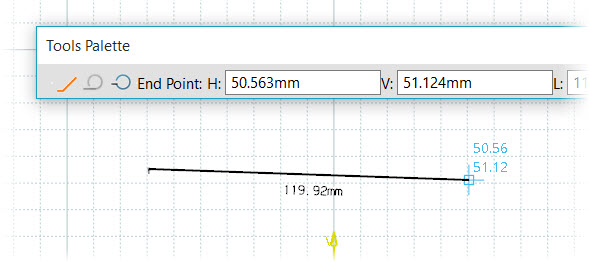
Within the Tools Palette of a CAD software, input the Horizontal (H) and Vertical (V) values for the initial point of your sketch. Upon pressing the TAB key, the text boxes dynamically update, allowing you to specify the endpoint coordinates.
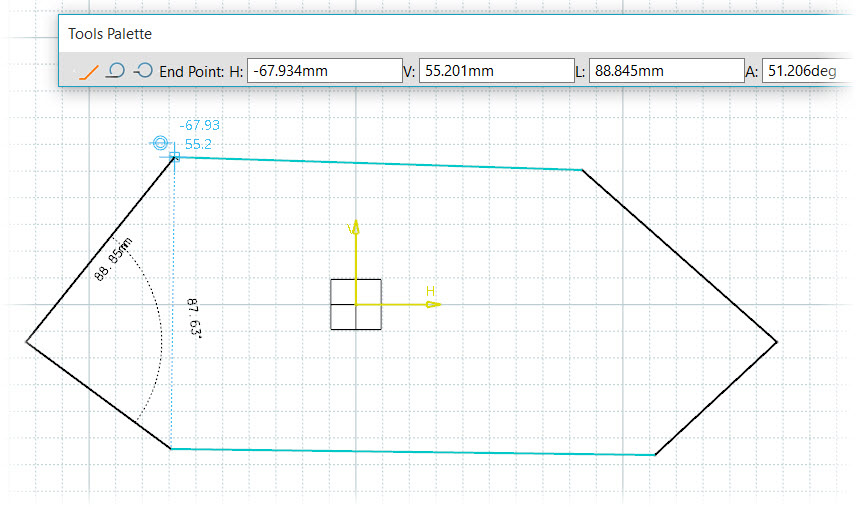
To continue building a profile using the mentioned method, you consistently input Horizontal (H) and Vertical (V) values for each point’s coordinates in your CAD software’s Tools Palette. After pressing TAB, you iteratively define endpoint coordinates. This sequential process enables the creation of intricate profiles with precise control over position and dimension for each sketch element, ensuring accuracy in your CAD design.
After completing your sketch in a CAD application, select the “Exit App” option to leave the sketching environment. It’s important to note that you typically don’t need to save this individual sketch as a separate part. Exiting without saving ensures that you return to the main workspace, ready to use the sketch as a basis for constructing 3D models without cluttering your project with unnecessary intermediate files.
Note: – To automatically select Tangent Arc, click and drag the cursor away from the created line, and release. When a geometric constraint symbol appears in the Graphics window, hold CTRL to lock that constraint.
Eric Bansen
Eric Bansen is a CAD expert with decade of experience in utilizing engineering CAD software to develop and evaluate automotive and product design concepts. He works as a Technical content manager for Tata Technologies and specializes in a range of software tools, including NX, SolidWorks, and AutoCAD.