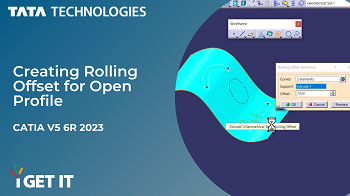
Creating Rolling Offset for Open Profile in | CATIA V5 6R 2023
September 13, 2023 2023-09-13 18:38Creating Rolling Offset for Open Profile in | CATIA V5 6R 2023
Step 1
Open the CATIA Part Rolling Offset.CATPart.
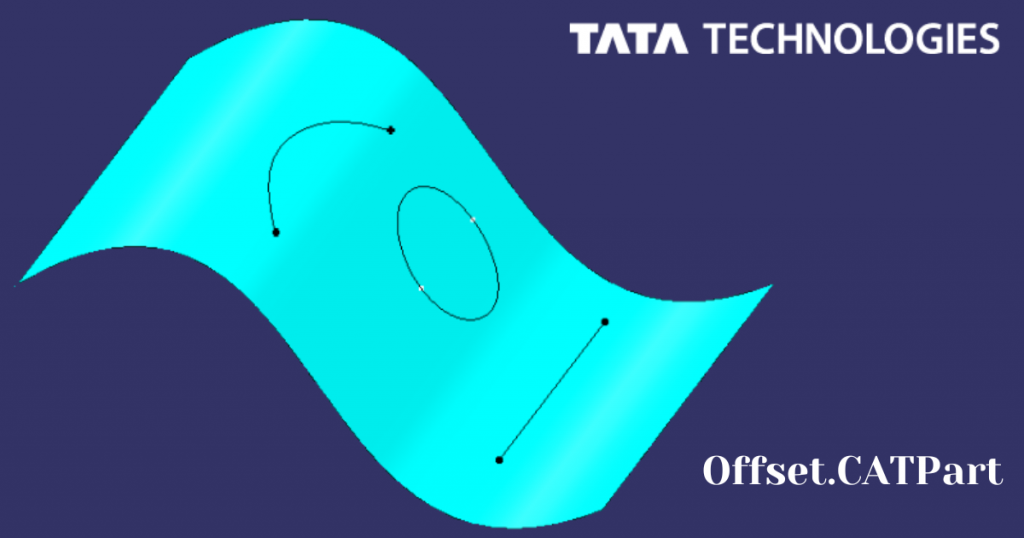
To begin designing or editing 3D models in CATIA, start by opening a specific file called CATIA Part Rolling Offset.CATPart. This file serves as the initial point for your CATIA project. Once you’ve opened it, you can review previous work or embark on creating new elements, such as adding shapes or making adjustments.This marks the initial step in working on your 3D designs.
Step 2
Insert | Wireframe | Rolling Offsets

To proceed, within CATIA, select the “Insert” option, followed by the “Wireframe” submenu, and finally, choose “Rolling Offset.” Once you’ve made this selection, the “Rolling Offset Definition” dialog box will appear on your screen. This dialog box serves as an integral part of the user interface, allowing you to define and customize the rolling offset action. It grants you control over the settings and parameters associated with this specific software function. You can utilize this dialog box to establish rolling offset features within your 3D model or design by configuring the appropriate settings. In CATIA, continue by selecting “Insert” and then click on the icon situated to the right of the “Curves” field. This action will unveil the “Curves… dialog box,” opening a window where you can fine-tune and manage various curve-related settings and selections.
Step 3
Selecting Curves for Rolling Offset Creation
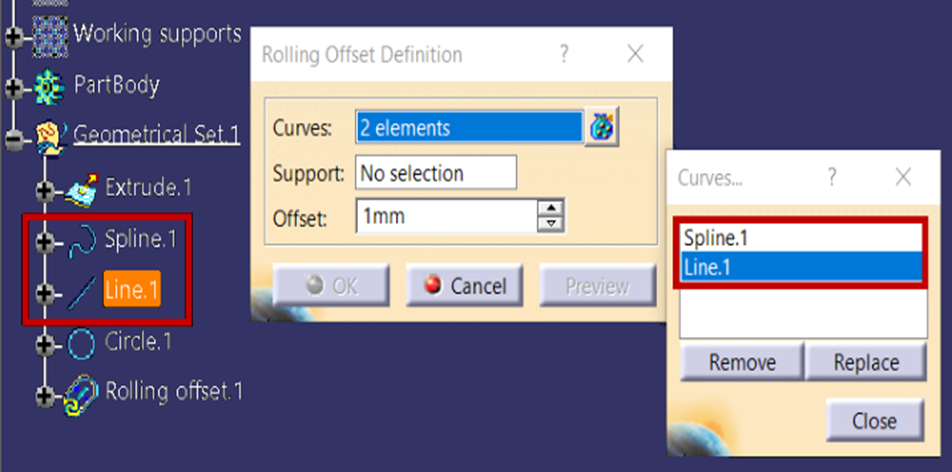
After opening the “Curves… dialog box,” proceed by selecting both “Spline.1” and “Line.1” from the Specification Tree. This action entails choosing these particular curve entities for additional manipulation or reference in your CATIA project. It’s worth noting that selecting both curves simultaneously will result in the creation of a single Rolling Offset curve feature in the tree. However, if you perform this in two separate operations, you will then obtain two distinct features.
Step 4
Defining Extrusion Support
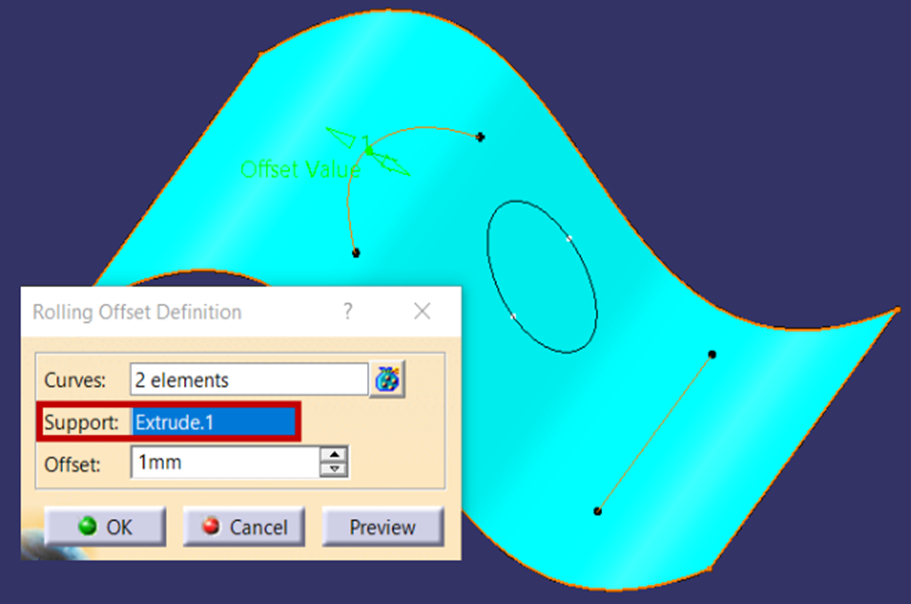
After closing the “Curves…” dialog box, the “Support” field becomes active. Select “Extrude.1” as the supporting element, influencing the extrusion operation in CATIA. After closing the “Curves…” dialog box, you can activate the “Support” field. To influence the extrusion operation in CATIA, choose “Extrude.1” as the supporting element. This selection will dictate how the extrusion interacts with your existing design. This choice will determine how the extrusion operation influences with your current design.
Step 5
Finalizing the Rolling Offset Curve
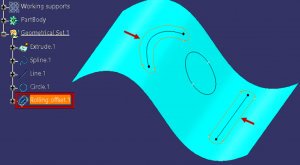
The “Rolling Offset” curve is generated following the steps mentioned earlier. Typically, the creation of a rolling offset curve involves specifying a base curve or element and subsequently defining an offset distance and direction from it. The software then performs calculations and generates a new curve, positioned at an offset from the original while maintaining a defined distance relationship. This curve serves as a valuable tool in various CAD design tasks. Hence the Rolling Offset curve is successfully created.
Ready to master the art of creating Rolling Offsets in CATIA V5 6R 2023? Start to experiment with this powerful feature today and unlock new possibilities for your design projects. Don’t forget to check out our comprehensive tutorial video for a visual guide. If you have any questions or need further assistance, feel free to reach out using mail to – igetitsupport@tatatechnologies.com
If you have active CATIA V5 subscription you can view this in by signing in and then clicking the following link –
Creating Rolling Offset for Open Profile in | CATIA V5 6R 2023
Happy designing! and If you like our Tech Tip then share it using share this post icon.